QB015 Joystick Module
1.Product Introduction
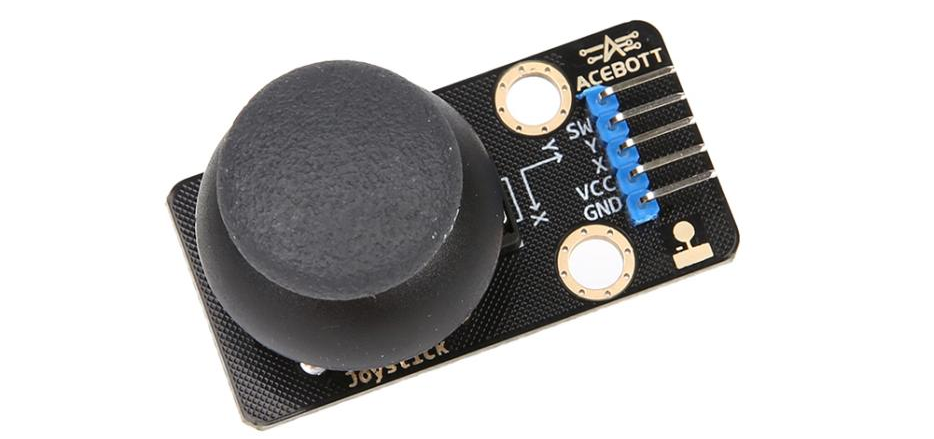
The joystick module is mainly composed of two potentiometers and a push button switch. These two potentiometers output the corresponding voltage values on the X and Y axes respectively according to the twisting angle of the joystick, realizing the position perception of the joystick in two dimensions. In the Z-axis direction, pressing the joystick can trigger the touch button to realize additional operating functions. The design of this module enables it to simulate an operating experience similar to that of a game controller, reflecting the position of the joystick through changes in the potentiometer, and realizing specific functions by triggering the push button switch.
In addition, the initial state of the joystick module is that both potentiometers are in the middle of the range without external force. This design ensures that the output of the module is stable when there is no operation, and will not cause misoperation due to slight vibration or other external interference.
Application reference: game console controllers, remote control cars, gimbals, model airplanes, etc.
2.Parameter Specification
Parameter |
Value//Description |
|---|---|
Operating voltage |
3.3V~5V |
Operating temperature |
-40°C~+70°C |
Output signal |
Analog signal |
Size |
4.7cm*2.4cm |

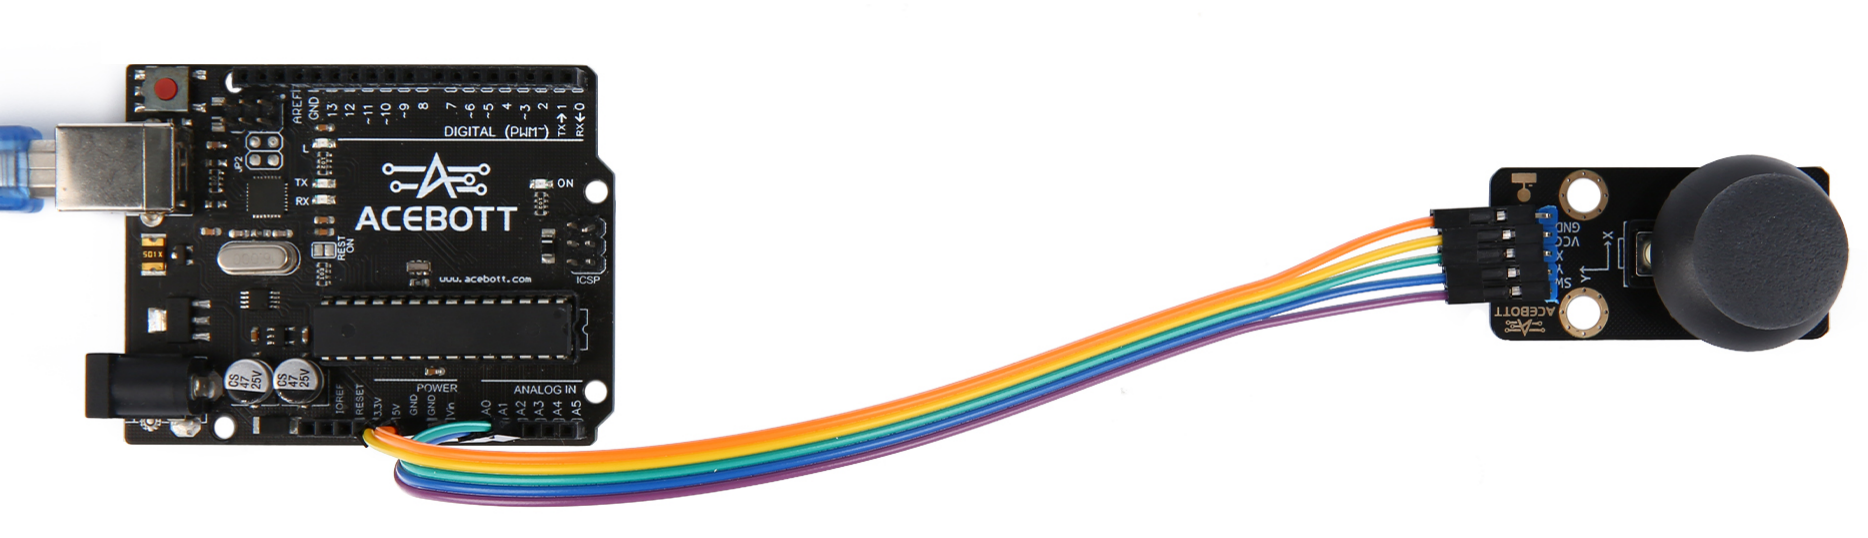
3.Wiring Diagram
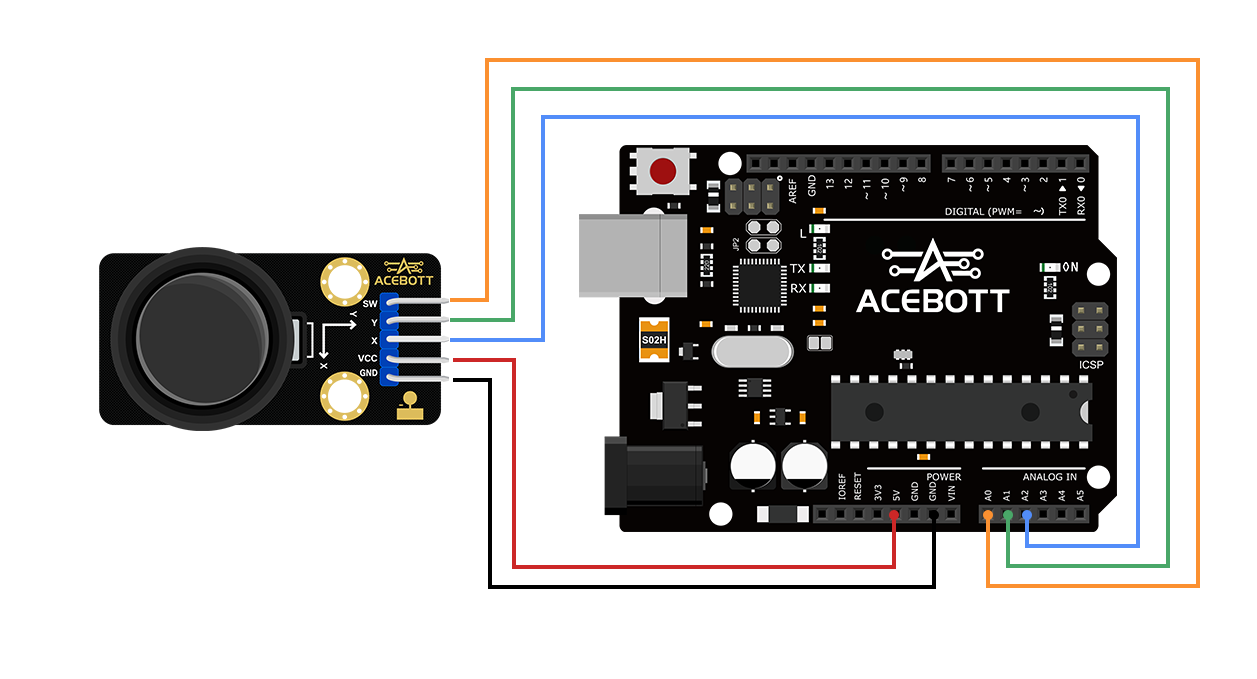
Joystick Module |
UNO |
|---|---|
SW |
A0 |
Y |
A1 |
X |
A2 |
VCC |
5V |
GND |
GND |
4.Sample Code
 1const int X = A2;       // define the  X pin to A2
 2const int Y = A1;       // define the  Y pin to A1
 3const int key = A0;
 4int X1 = 0, Y1 = 0, Z1 = 0;
 5
 6void setup() {
 7
 8  pinMode(key, INPUT);
 9  Serial.begin(115200);
10}
11
12void loop() {
13
14  X1 = analogRead(X);      //read the right X value
15  Serial.print(X1);
16  Y1 = analogRead(Y);      // read the right Y value
17  Serial.print(" ");
18  Serial.print(Y1);
19  Z1 = digitalRead(key);   //read the right Z value
20  Serial.print(" ");
21  Serial.println(Z1);
22  delay(1000);
23
24}
5.Test Result
After you have successfully connected the circuits according to the wiring diagram and successfully uploaded the correct program, when you press the joystick, the serial port monitor will output the current coordinate information of the joystick.
6.Related Resources
7.Get One Now
B2B Business: info@acebott.com
Individual buyer: shop on aliexpress